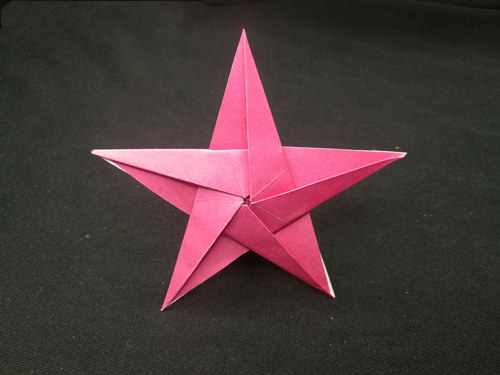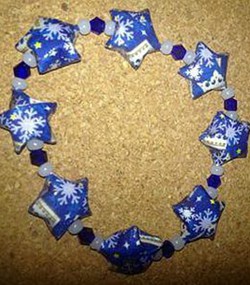
Learn how to make origami lucky star.These lucky stars (also called origami wishing stars ) are easy and fun to make.You can use these lucky stars to make many different decorations. You can put them in beautiful bottles. It is said that making 100 lucky stars can achieve one wish. You can also use them to make bracelets and necklaces.
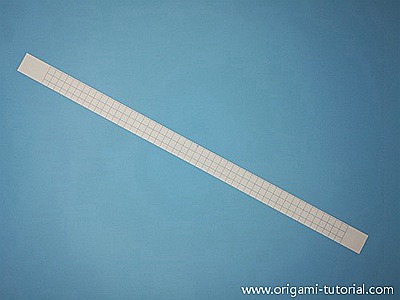
Step 1: Cut out a strip of paper in a ratio of 1 to 13.The width of the strip of paper affects the size of the lucky star.You can buy pre-cut strips of paper.
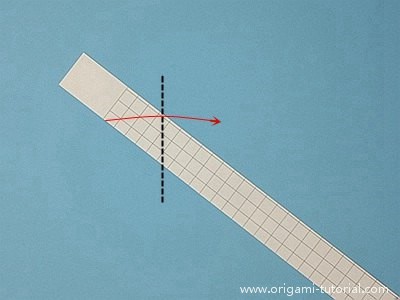
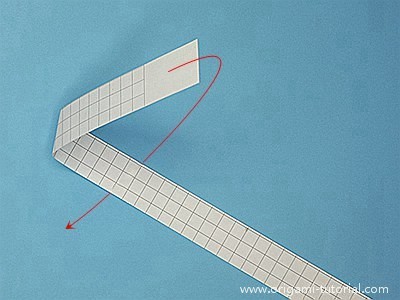
Step 2: Fold the left end of the strip of paper to the right as shown below.Now you don’t really need to create a crease at the dotted line,Because we’re trying to wrap the paper around to form a loop.
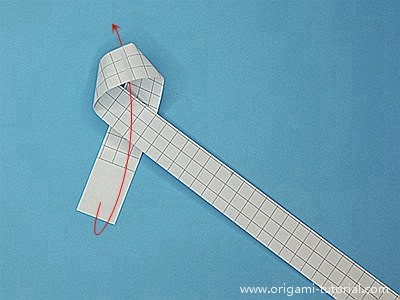
Step 3: Fold the upper part down cross the bottom form a loop.
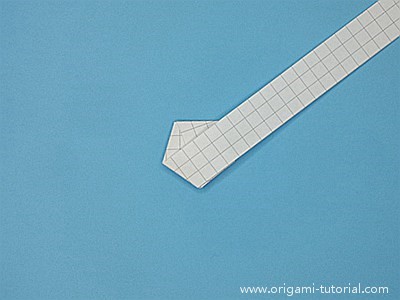
Step 4: Pass the short-end of the paper into the loop to form a standard over-hand knot.
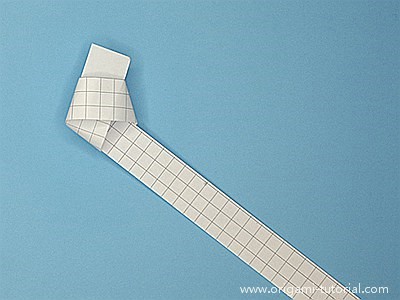
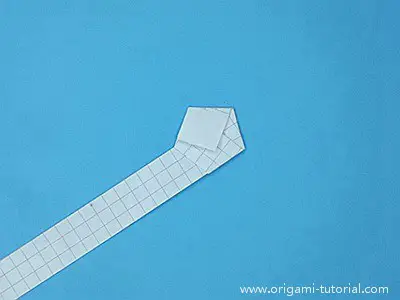
Step 5: Move the position of the knot to make sure it at the end of the paper. Press the knot flat while ensuring that the paper is pulled tight so that there are no holes and gaps at the corners where the paper meets.Then turn over.

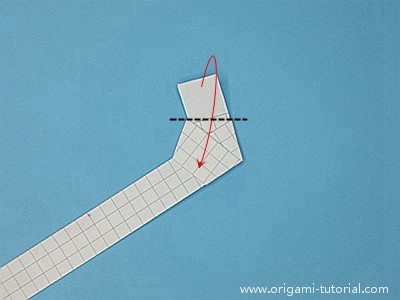
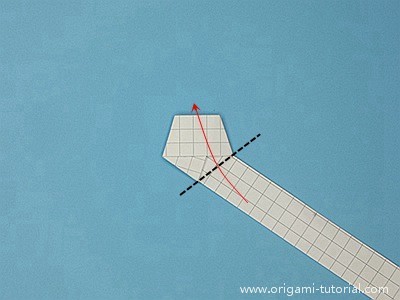
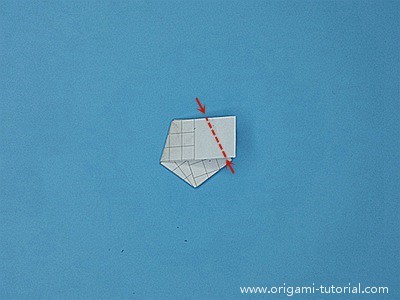
Step 6: Fold the short end of the paper toward the center of the knot along the edge of the pentagon. If it is too long, cut off a little paper to make sure it does not go beyond the edge of pentagon.Then turn over.
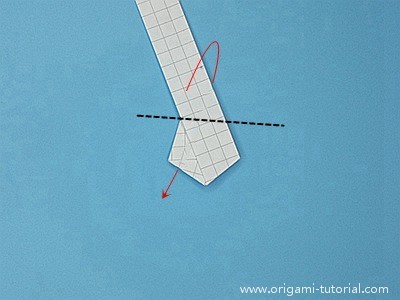
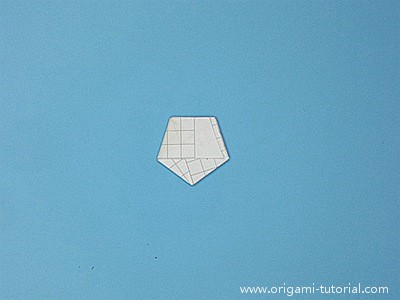
Step 7: Fold the long-end of the paper toward the center of the knot along the edge of the pentagon. Be sure that one edge of long-end paper coincides with the adjacent edge of the pentagon.
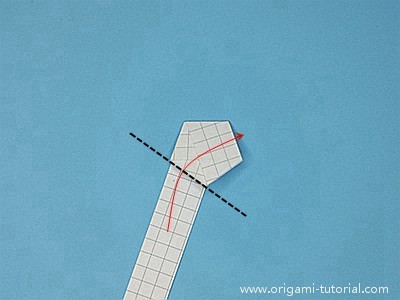
Step 8: Fold behind and repeat step 7.
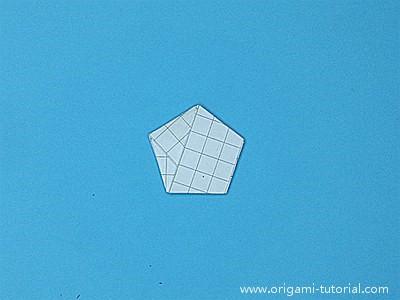
Step 9: Repeat step 7.
Step 10: Repeat step 7 until the paper is too short to continue.

Step 11: Tuck the end of the paper under the upper layer of paper. If the paper is too long, you can cut a little bit. But if the paper is too short, you need to cut a little more and go back to the last folding to tuck paper under the layer of paper, because we need to make sure that there are enough stuffed paper so that do not deform when we squeeze it.

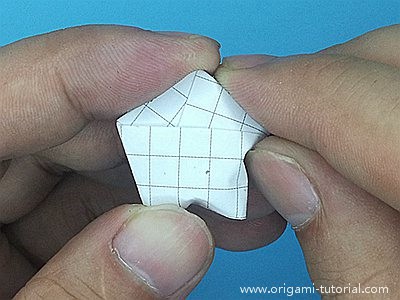
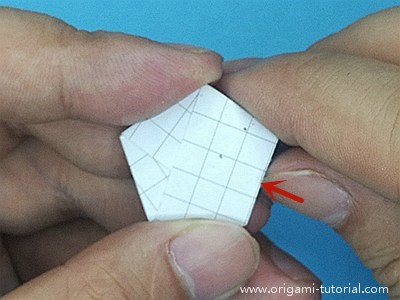
Step 12: Hold the pentagon along its edges and use your fingernail to push in one of the edges.

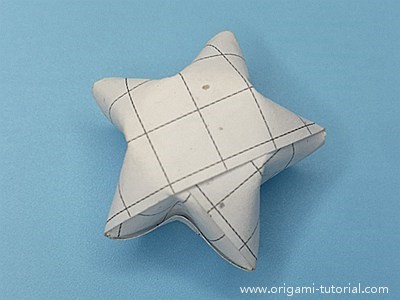
Step 13: Rotate and push in the next edge of the pentagon. Repeat until all 5 sides have been pushed in: a origami lucky star is born!