Learn how to make sink fold.We will see this symbol in many origami instructions, so learning to fold it is related to whether we can complete this origami work.The origami sink fold is designated with a broad arrow and a mountain-fold line. The arrow indicates a “push in” action while the line shows where the fold will occur.
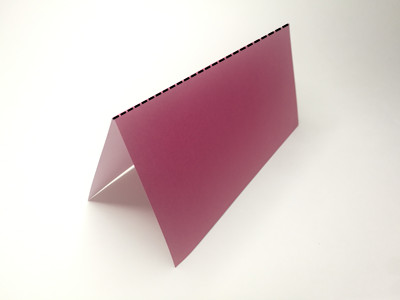
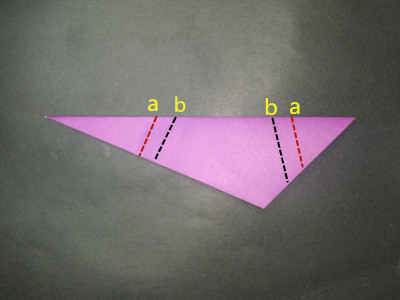
- Make a crease by folding the top corner down along the dotted line.
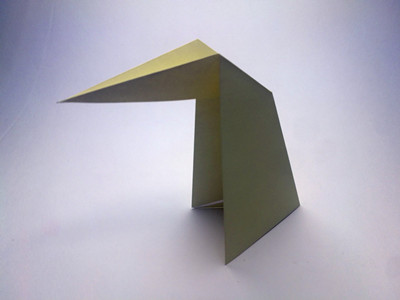
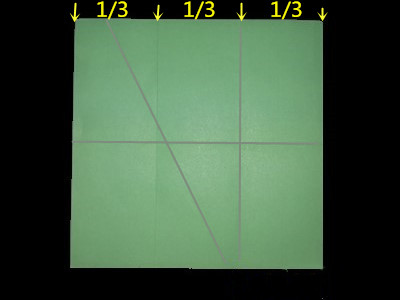
- Looking down from top,we’ll see a small square.Make mountain folds on all sides of the small square.
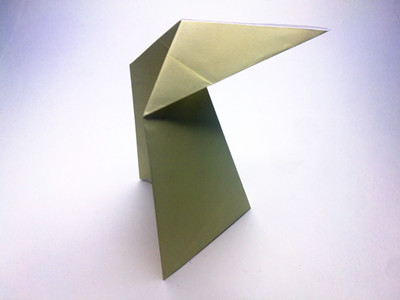
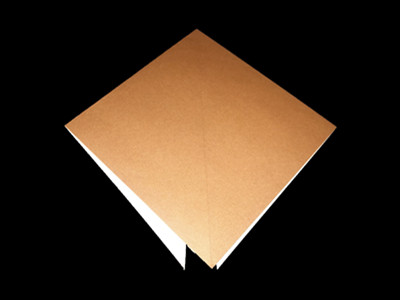
- Push down the top corner of the paper until the tip of the paper sinks between the layers.
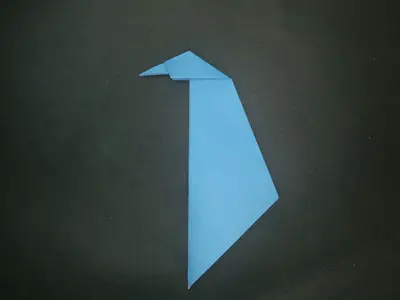
- The origami sink fold is done.
Step 1
: Make a crease by folding the top corner down along the dotted line.


Step 2
: Looking down from top,we’ll see a small square.Make mountain folds on all sides of the small square.

Step 3
: Push down the top corner of the paper until the tip of the paper sinks between the layers.

Step 4
: The origami sink fold is done.