Here’s origami phoenix instructions you can fold it easily. You should to use square paper and follow the diagrams step by step,Just need 24 steps you will get your own origami phoenix.
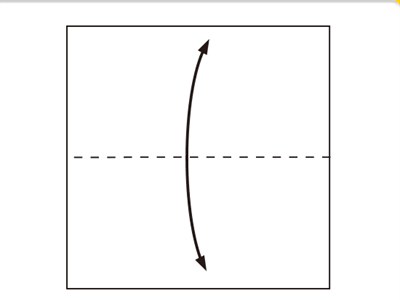
Step 1:
Fold to make a crease and fold back.
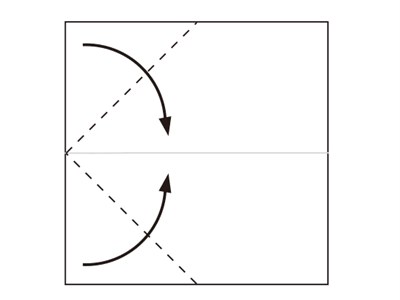
Step 2:
Fold both left corners meet to the center point.
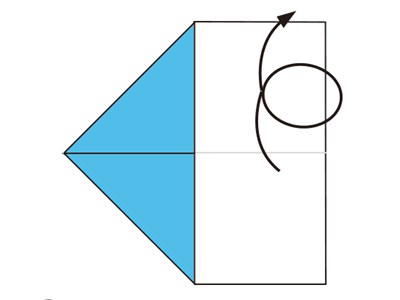
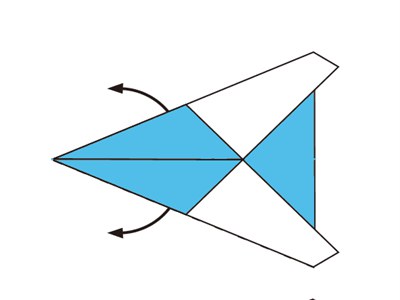
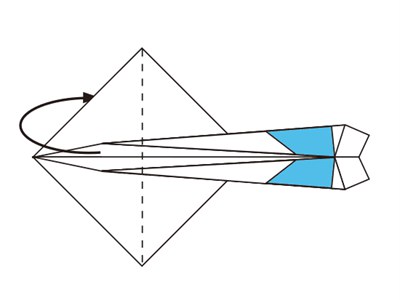
Step 3:
Turn over.
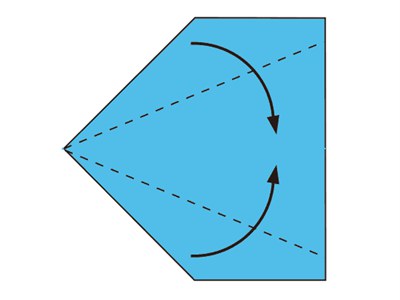
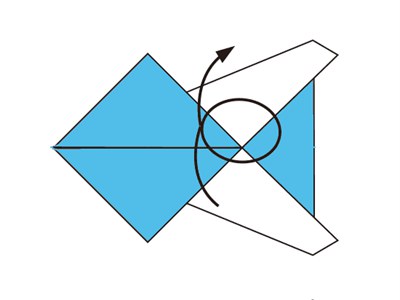
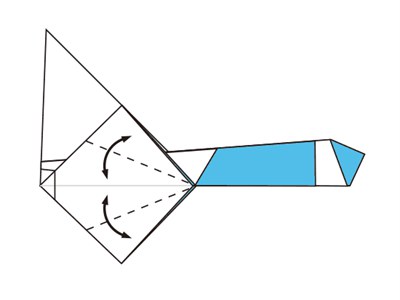
Step 4:
Fold along the dotted line.
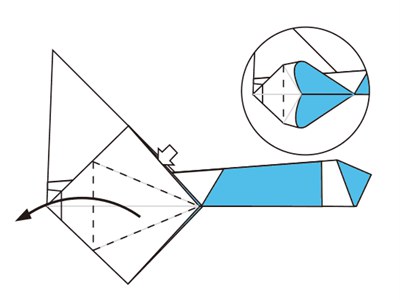
Step 5:
Open.
Step 6:
Turn over.
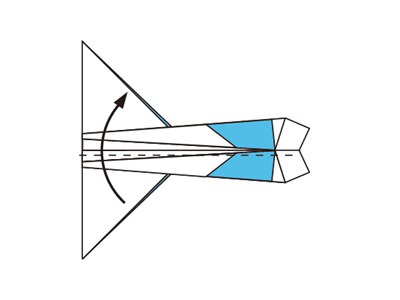
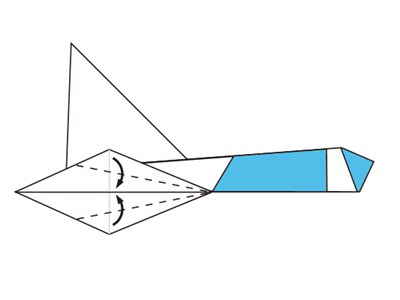
Step 7:
Fold along the dotted line.
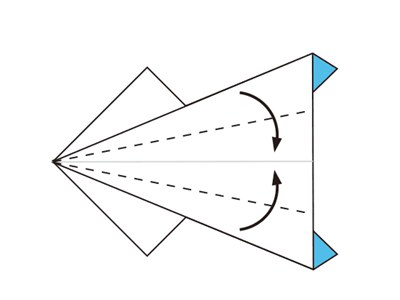
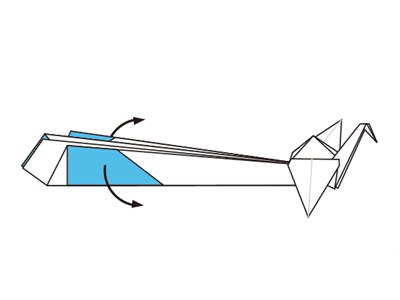
Step 8:
Fold both side meet to the center line again.
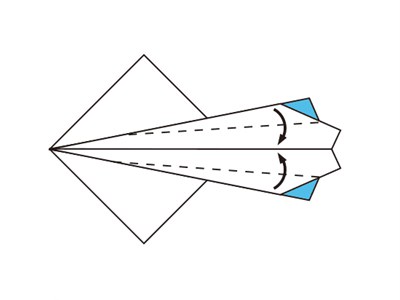
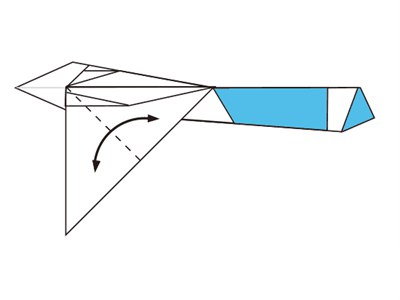
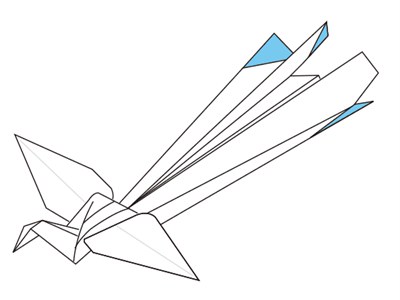
Step 9:
Fold the left side backward along the dotted line.
Step 10:
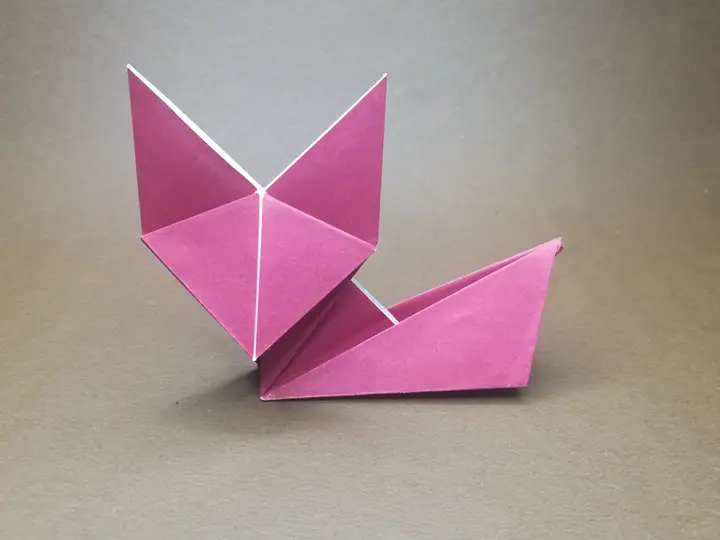
Fold in half.
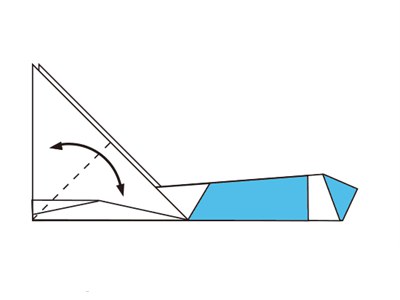
Step 11:
Fold to make a crease and fold back.
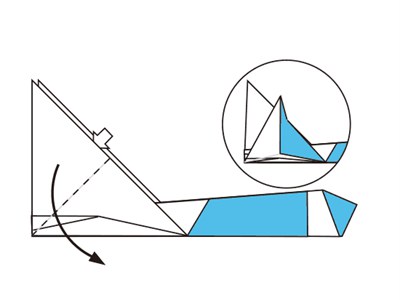
Step 12:
Open the arrow part and flatten.
Step 13:
Fold to make a crease and fold back.
Step 14:
Open the arrow part and flatten along the creases made in previous step.
Step 15:
Fold along the dotted line.
Step 16:
Turn over.

Step 17:
Folds as much as step11 to step16.
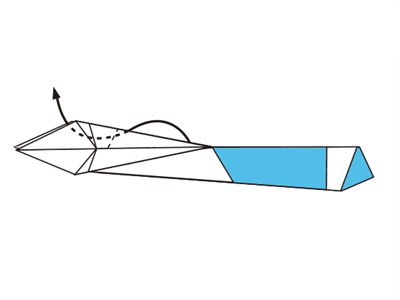
Step 18:
Make an Inside Reverse Fold along the dotted line.
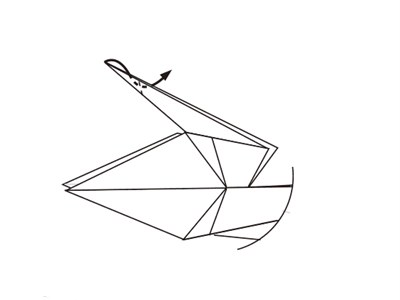
Step 19:
Make an Inside Reverse Fold along the dotted line.
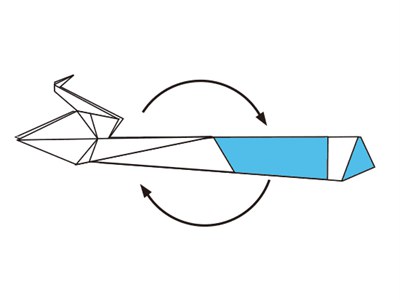
Step 20:
Turn around.
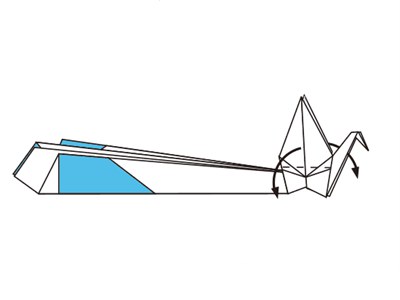
Step 21:
Make an Inside Reverse Fold on the bottom side to form the tail.

Step 22:
Fold the wings downward.
Step 23:
Open the tail as shown below.
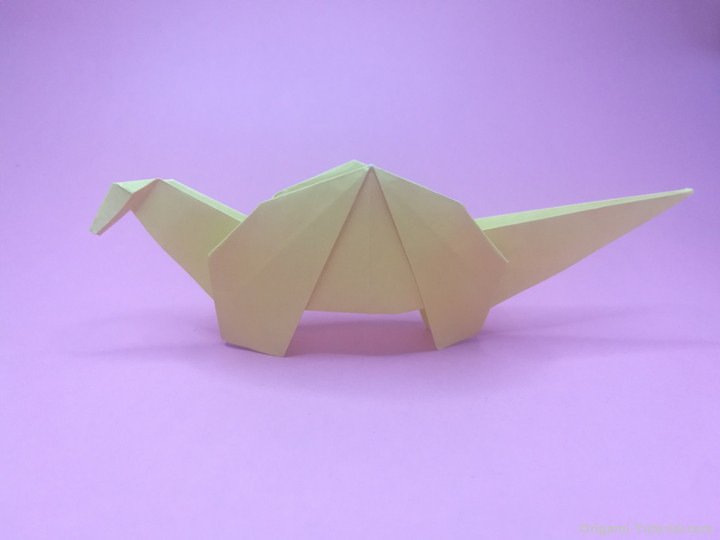
Step 24:
Finished.
Now you know how to make an origami phoenix! Easy wasn’t it?Click on “Like” below if you like this origami!