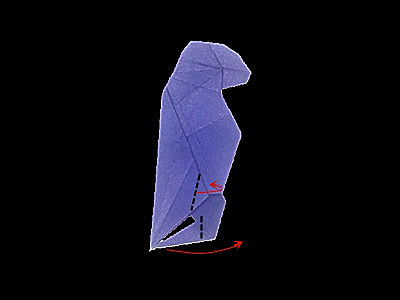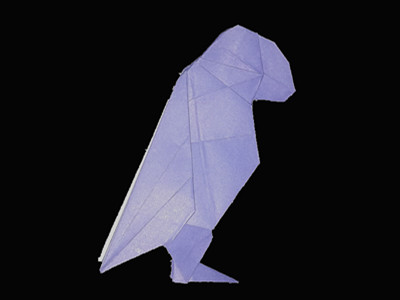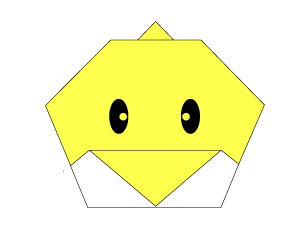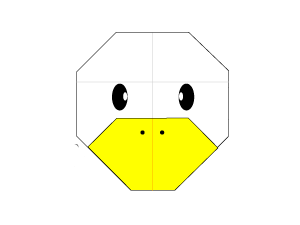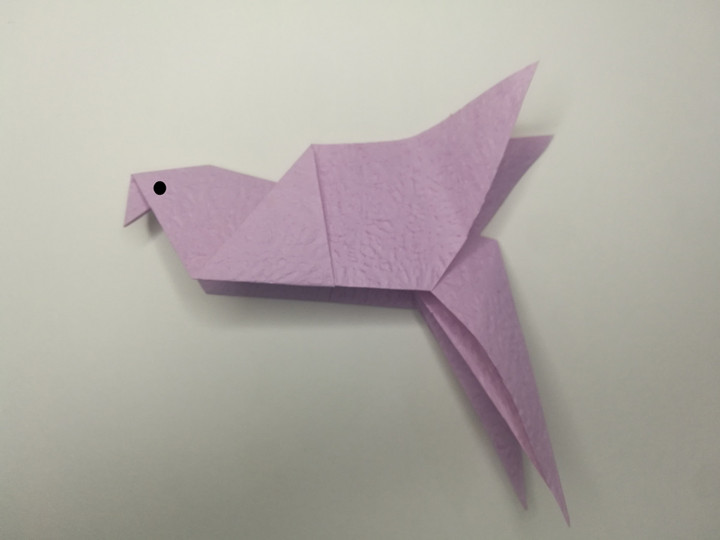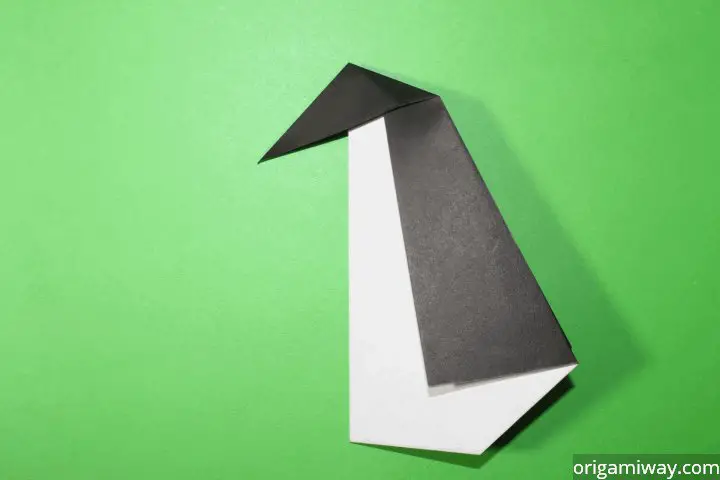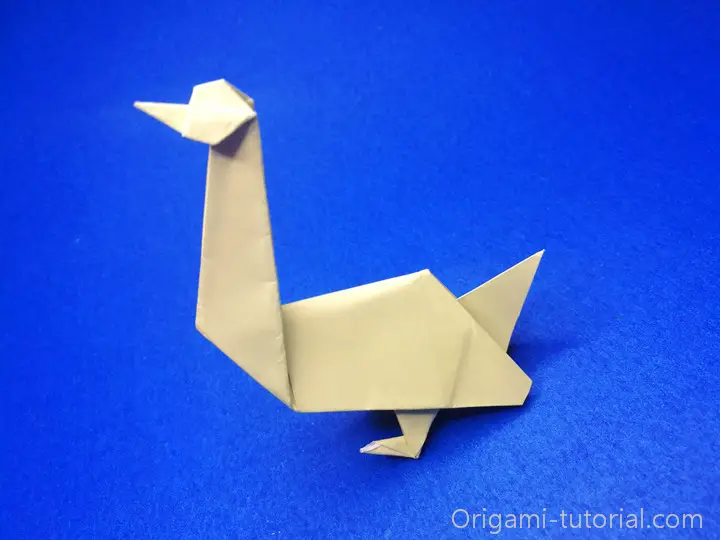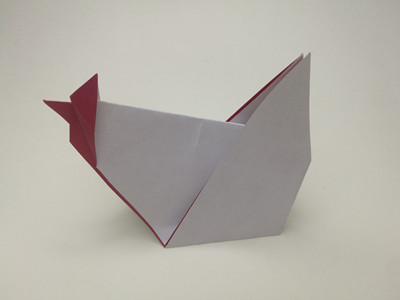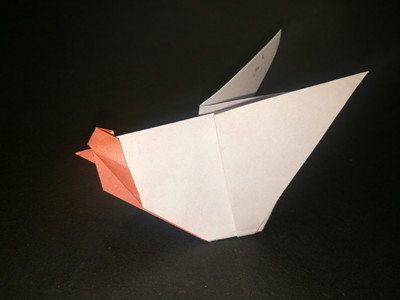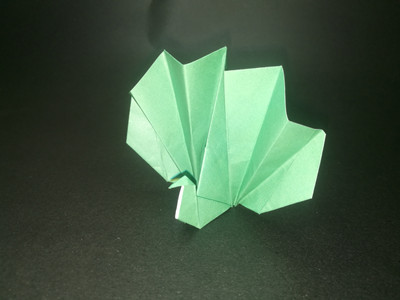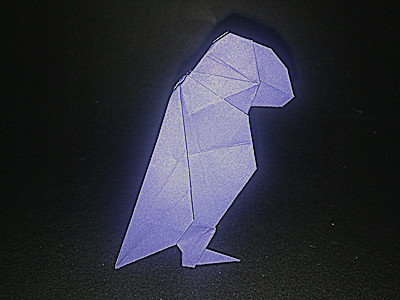
Learn how to make an origami puffin or sparrow.This origami bird is a bit complicated indeed. It’s easier to use larger paper. Let’s get started.
Step 1
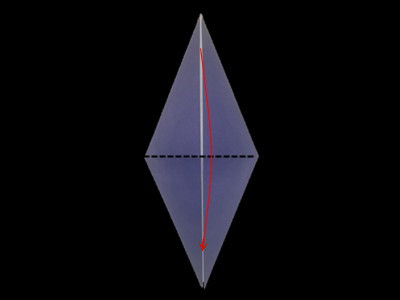
: Start with origami bird base.you could learn how to make it here.Fold the top corner of the upper layer to the bottom corner.
Step 2
: Fold the top corner behind.
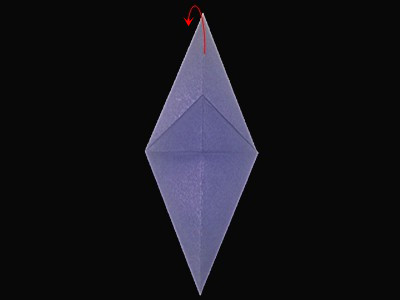
Step 3
: Make a sink fold along the dotted line.
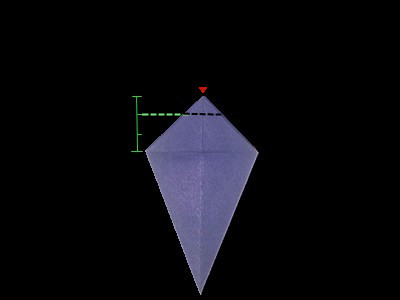
Step 4
: Fold the bottom corner up along the dotted line.
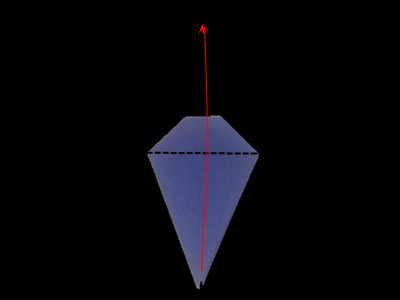
Step 5
: Make creases by folding both left and right edges meet to the center line,then unfold.
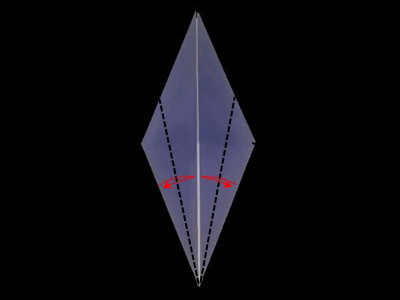
Step 6
: Turn over.
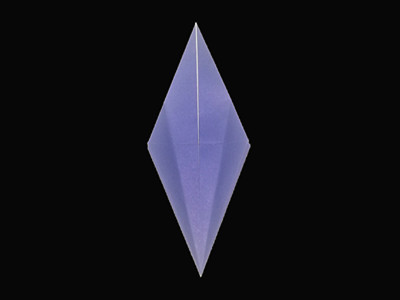
Step 7
: Make creases along the dotted line,then unfold.The model will look like as figure that in step 8.
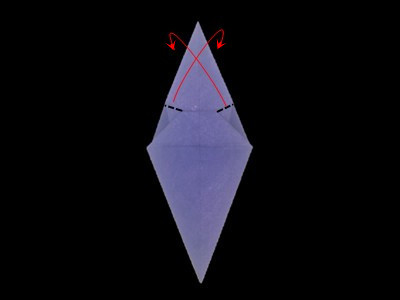
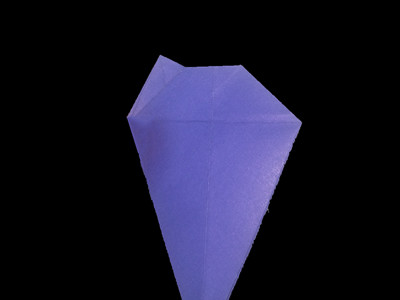
Step 8
: Open the upper layer along the creases,then flatten down the top corner along the upper dotted line.
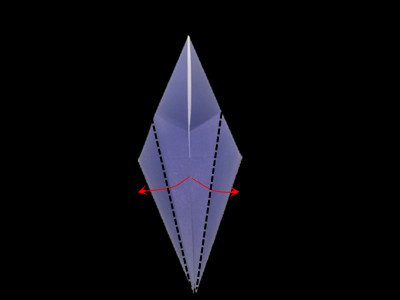
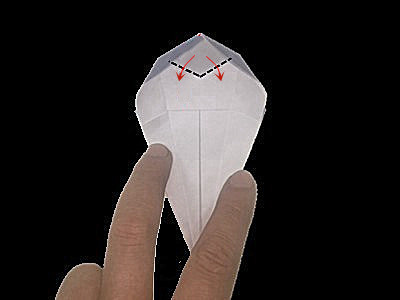
Step 9
: Fold the right part to the left part along the center line.
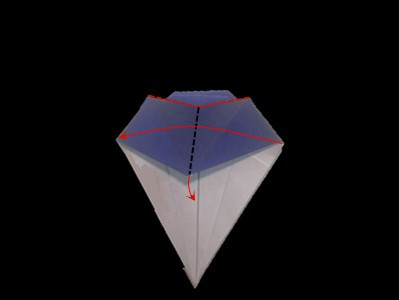
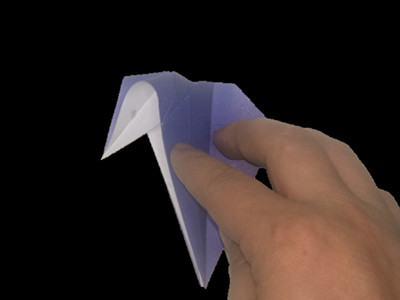
Step 10
: Fold the left corner of the upper layer to the right along the dotted line.Then fold the left corner of the bottom layer behind.The model will look line as picture 3 that in this step.
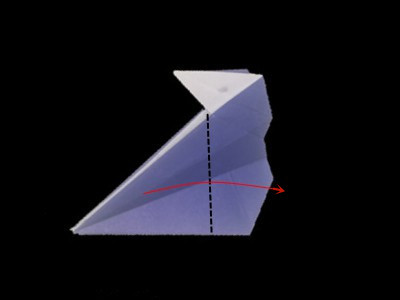
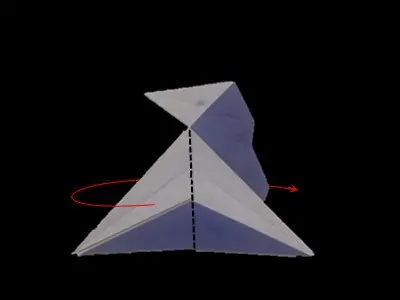
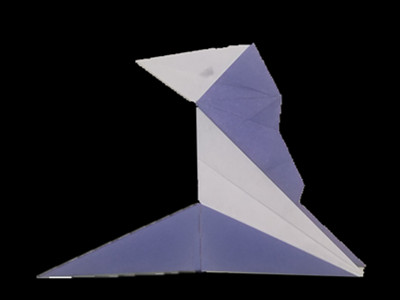
Step 11
: Open along the red arrow.
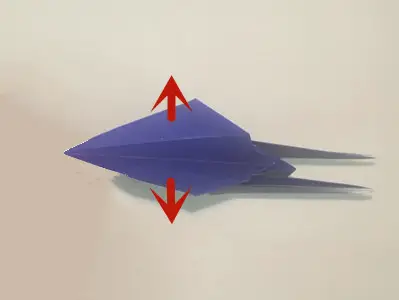
Step 12
: Fold the left corner to the right along the black dotted line.
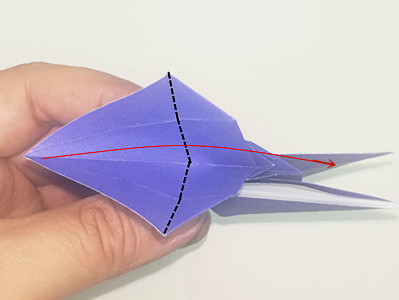
Step 13
: Fold the top and bottom part together.
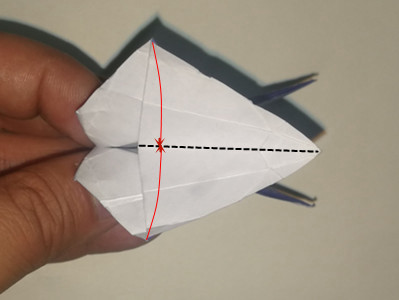
Step 14
: Fold top corner inward along the dotted line.Fold top corner inward along the dotted line.Make mountain folds on the red dotted lines and valley fold on the black dotted line,fold inward to make bird beak.
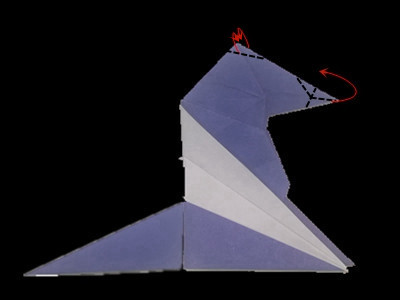
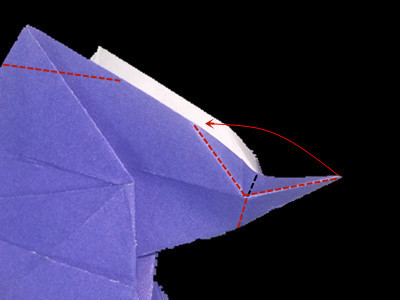
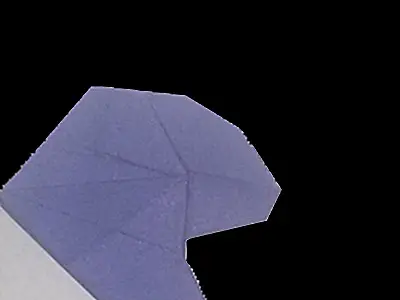
Step 15
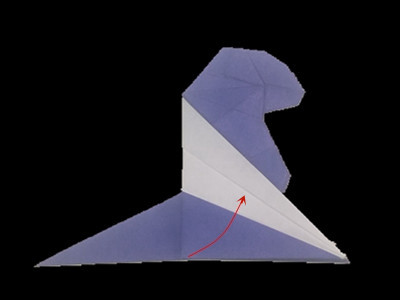
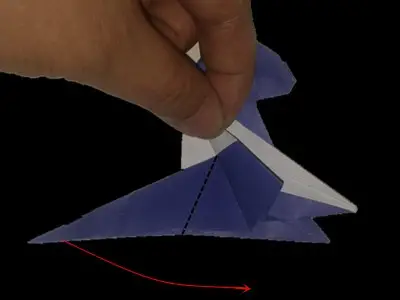
: Pull up bottom corner of upper layer then make a inside reverse fold along the black dotted line.
Step 16
: Fold bird wings to the left along the dotted line.
Step 17
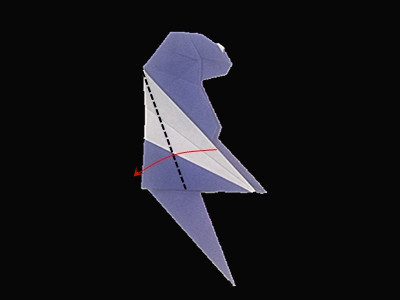
: Fold inward along the dotted line.Make a outside reverse fold along the dotted line on the bird tail.
Step 18
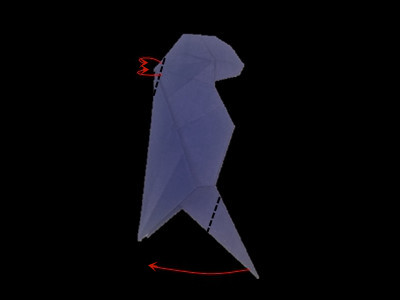
: Fold bird wings inward along the dotted line.Make a inside reverse fold along the dotted line on the bird tail.
