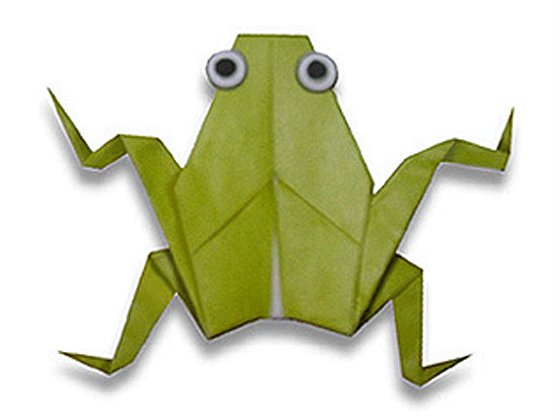
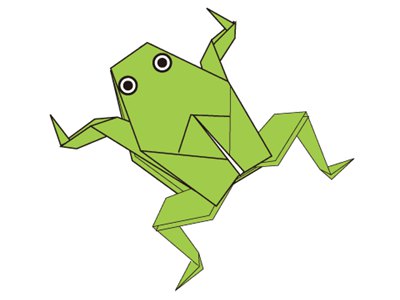
Here’s origami frog instructions you can fold it easily. You should to use square paper and follow the diagrams step by step,Just need 14 steps you will get your own paper frog.
As you can see, this frog is probably more complicated than other frogs because of its well-defined feet.You just need a few simple Inside Reverse Folds and Outside Reverse Folds to complete the legs. It’s will easier if you use larger paper.
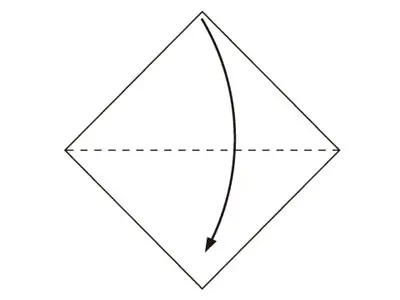
Step 1
: Start with a square piece of origami paper.Fold the model in half from top corner to bottom corner.
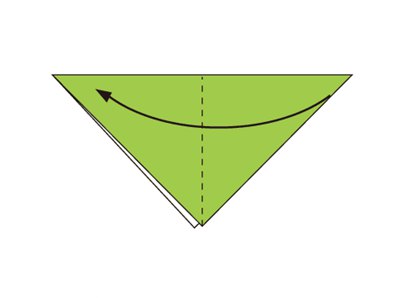
Step 2
: Fold in half again from right corner to left corner.
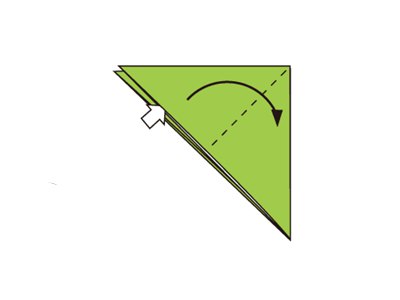
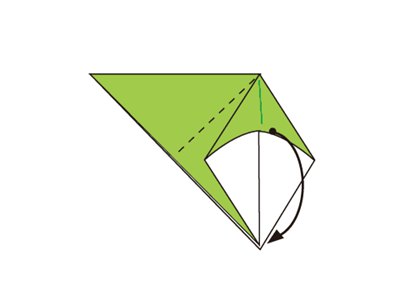
Step 3
: Open the top flap and fold the left corner to the bottom corner while creasing the sides.
Step 4
: Flatten to square.
Step 5
: Turn the paper over.

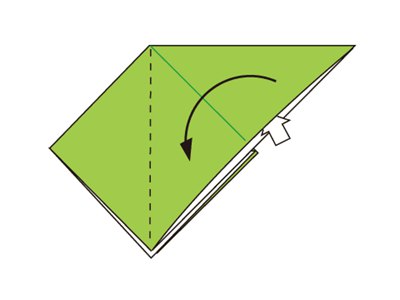
Step 6
: Open the top flap and fold the right corner to the bottom corner while creasing the sides.
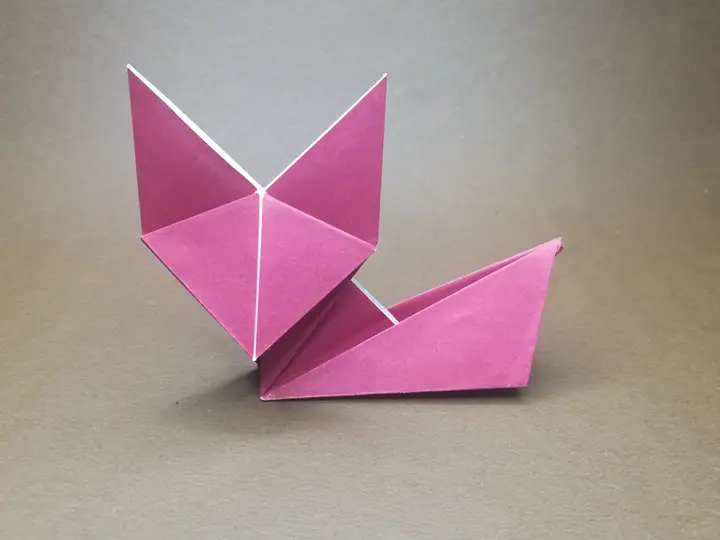
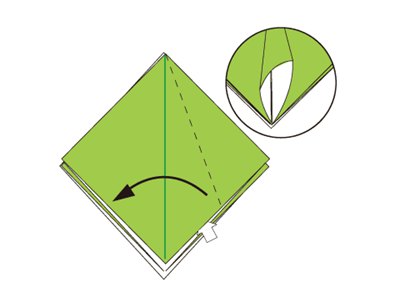
Step 7
: Open up a flap and do a squash fold on that also. To do this,Open at arrow part and fold the right corner to the center line while creasing the sides along the dotted line.
Step 8
: Fold others along the dotted line,too.

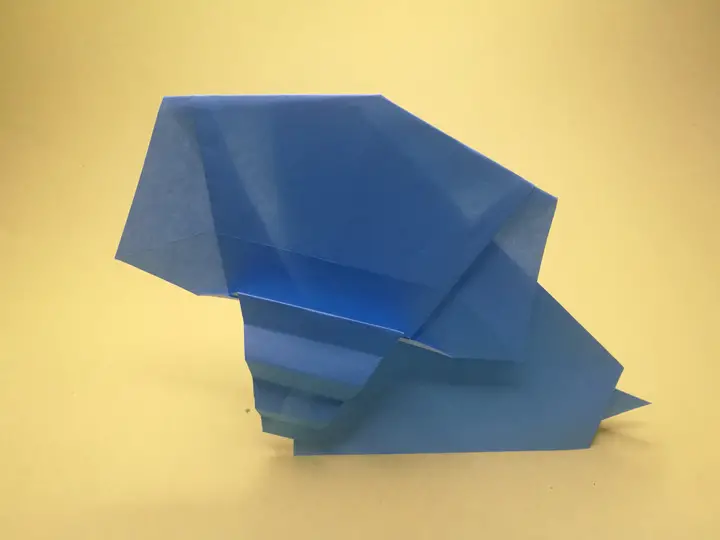
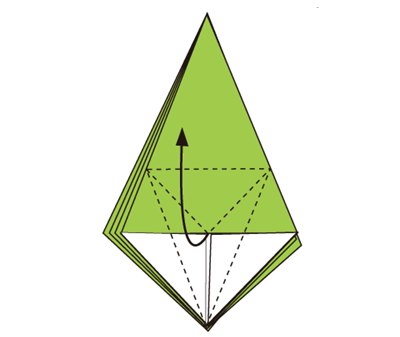
Step 9
: Make creases along the dotted lines.Then Open the flap upwards so that the left and right sides will fold in and meet at the center.
Step 10
: Flatten.

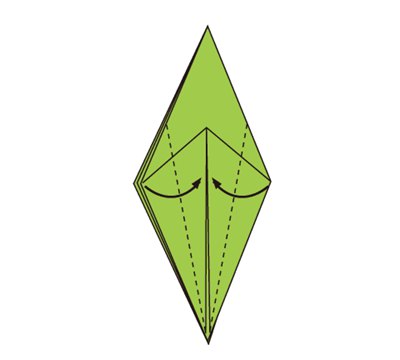
Step 11
: Fold the left and right sides to meet at the center.
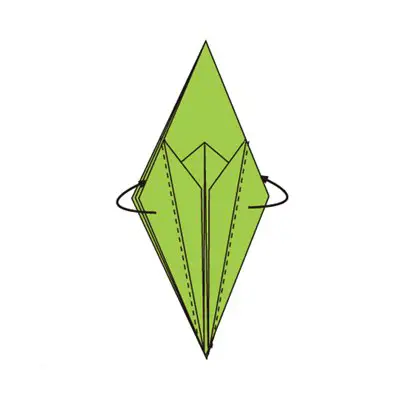
Step 12
: Follow the same steps to the others.
Step 13
: Make Inside Reverse Fold to form leg as shown below.

Step 14
: Make Inside Reverse Folds on four legs along the dotted line as shown below.
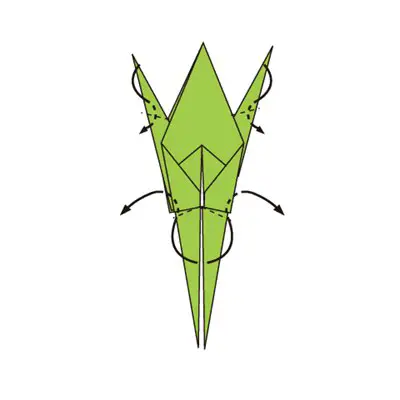
Step 15
: Make Inside Reverse Folds on four legs along the dotted line as shown below.

Step 16
: Fold inside the top corner along the dotted line.And make Inside Reverse Fold on the back legs.
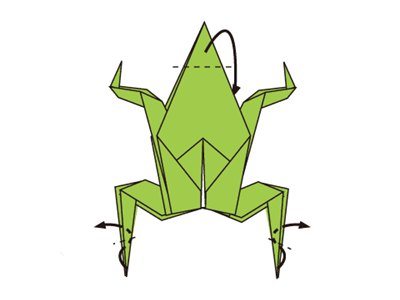
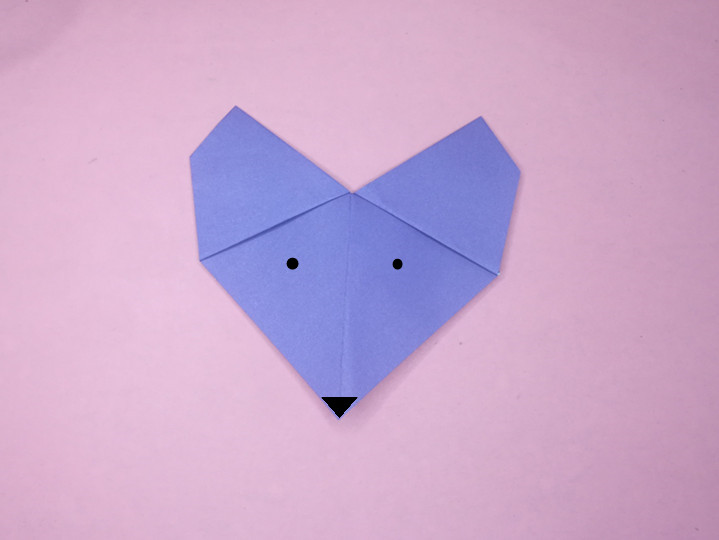
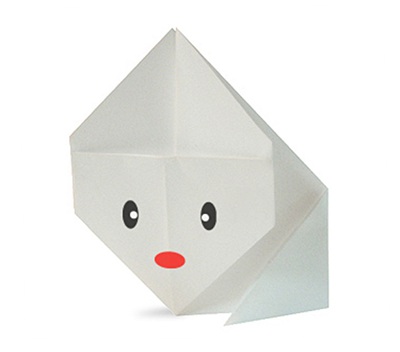
Step 17
: Draw eyes and finished.
Now you know how to make a paper frog! Easy wasn’t it?Click on “Like” below if you like this origami!