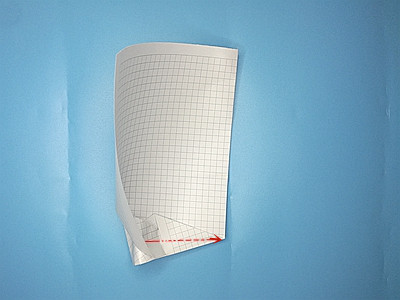
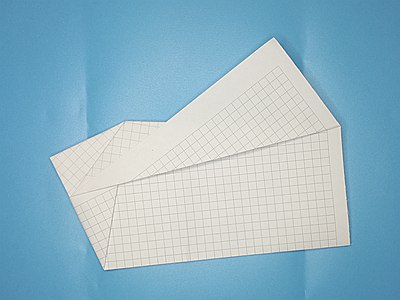
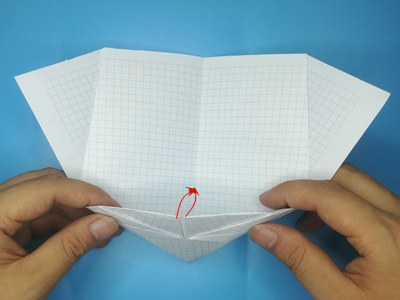
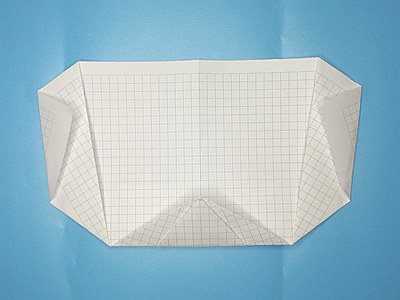
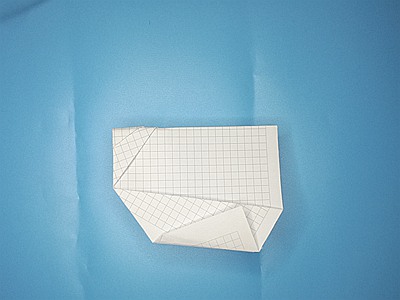
Step 13:Pull up the triangle formed in the previous step and insert it into the bottom layer as shown below.
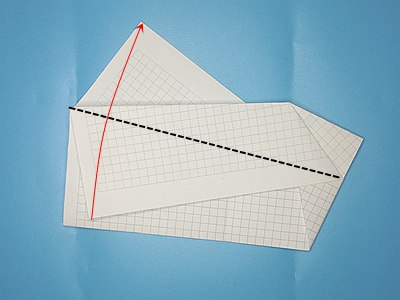
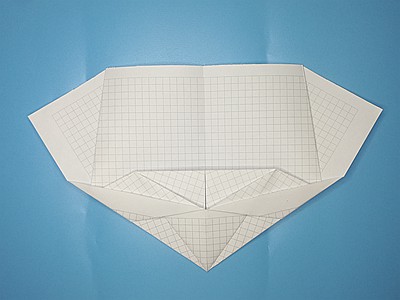
Step 14: Flattening along the black dotted lines.
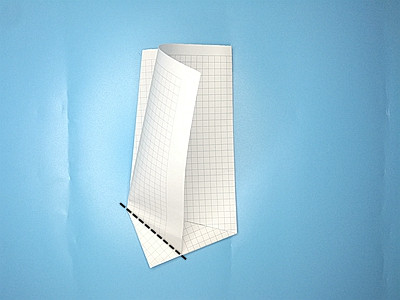
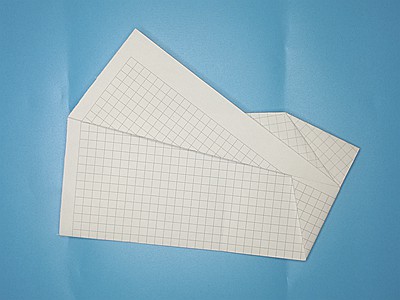
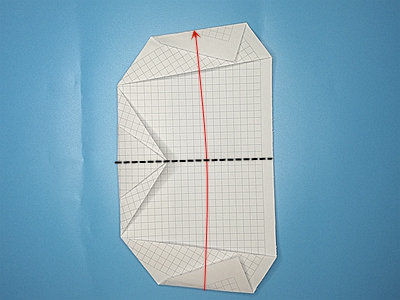
Step 15: Rotate 90 degrees clockwise.
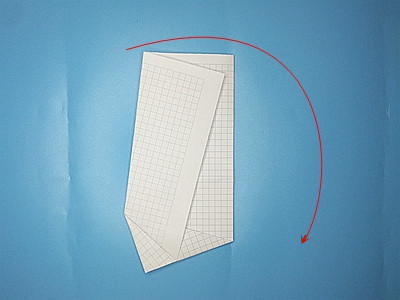
Step 16: Now start folding the wings of the paper plane.Fold the upper layer of the model up along the dotted line.Then turn over.
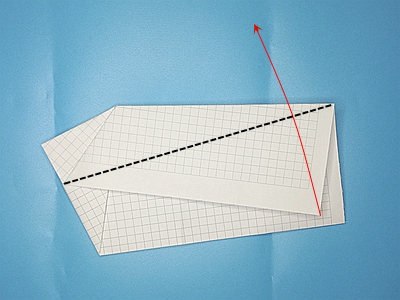
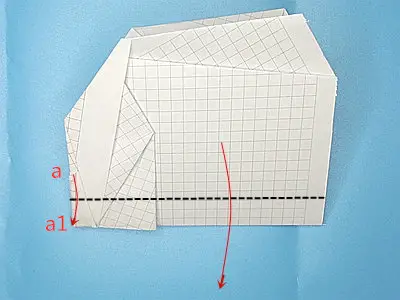
Step 17: Fold another wing of the paper plane.
Step 18:Pull the wings of the paper plane to both sides as shown in the figure.Then flatten the triangle at the bottom of the model.
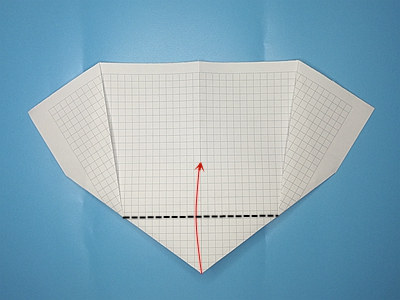
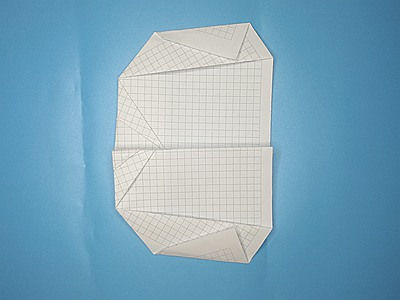
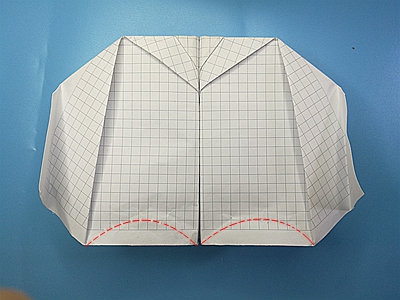
Step 19:Fold the bottom corner to top along the dotted line.
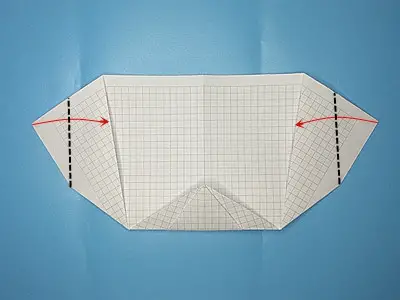
Step 20:Fold the left corner of the model to the right and coincide with the right edge of the upper layer of the model.Note that the creases should be parallel to the center line.The right wing folds in the same way.Then rotate 90 degrees clockwise.
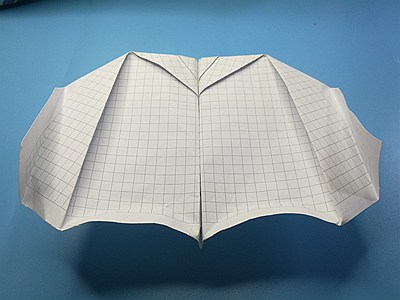
Step 21:Fold the bottom edge to the top edge along the center line.
Step 22:Fold the upper layer down along the dotted to form paper plane wing.
Step 23:Fold the another paper plane wing.
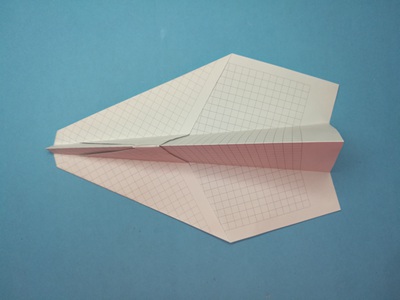
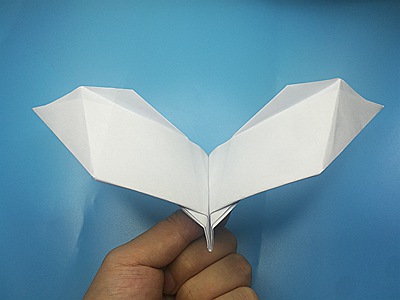
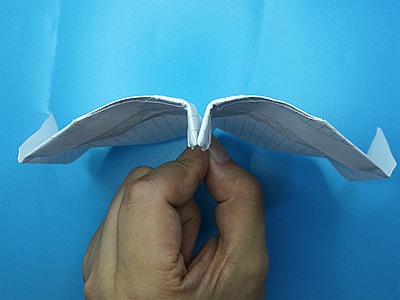
Step 24:Unfold the model as shown in the following figure.Fold the bottom edge of the model up along the red dotted line of the semicircular arc.This arc is the key to a boomerang paper airplane, which causes the paper plane to circle by blocking the wind. You need to correct it during flight test to ensure that the plane is more stable.
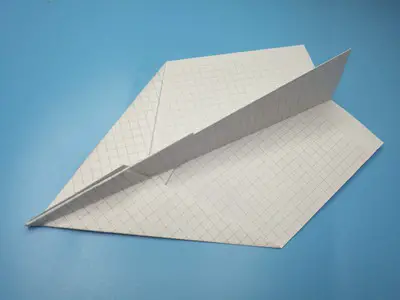
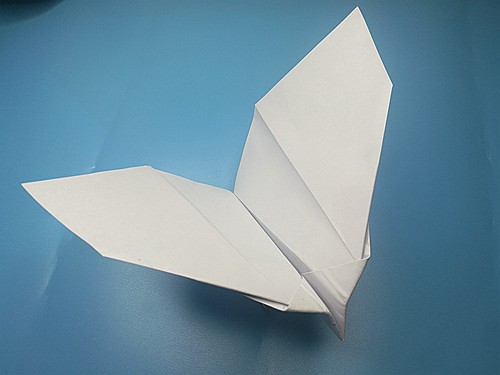
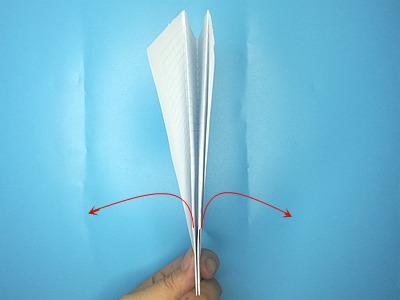
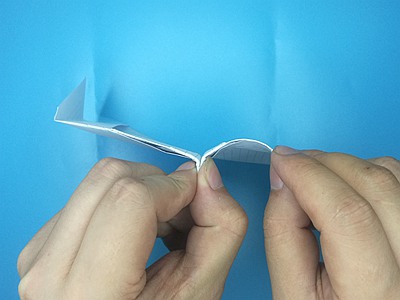
Step 25:Pinch paper plane wings into a semicircular arc with your nails as shown below.
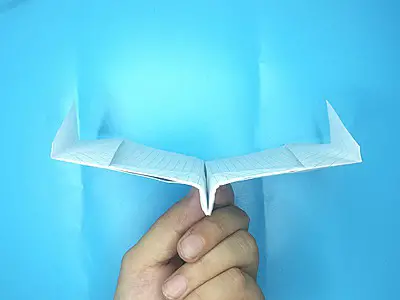
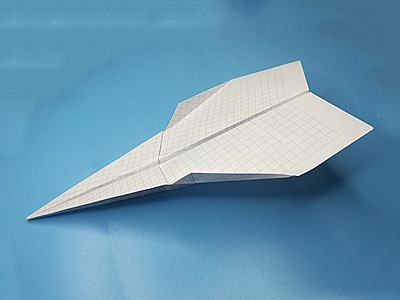
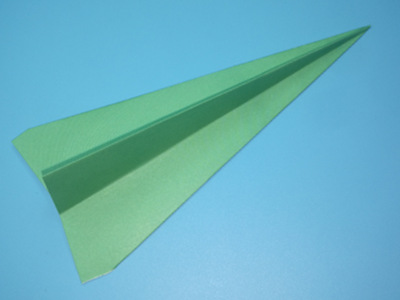
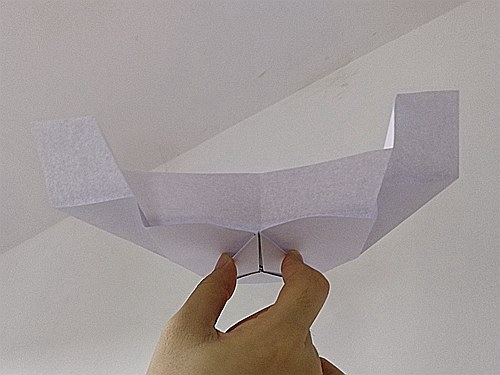
Throw your plane. But first, pick it up and hold it by the bottom of the V-shaped crease in the middle. Allow your thumb and forefinger to pinch the nose so the sides of the V press together. Then, in a smooth motion that curves to the left, throw your plane and release with your thumb and forefinger.